advanced access
sections
Sometimes, it might be necessary to interface with more of the bare-metal components of the norns software stack.
SSH
When connected via WiFi you can SSH into norns from another computer on the same network at the IP address shown in SYSTEM.
If your hostname isn’t norns, remember make the appropriate substitution when copy/pasting commands from this section!
- open a Terminal on a Mac/Win/Linux computer
- using Windows? you might need to manually enable or install an SSH client
- execute
ssh we@norns.localorssh we@<IP_ADDRESS_SHOWN_IN_SYSTEM> - password:
sleep(you will not see characters while typing, this is normal), then press ENTER/RETURN- MacOS: if you’re presented with a message about the host’s authenticity, you can safely add the device’s key by entering
yes
- MacOS: if you’re presented with a message about the host’s authenticity, you can safely add the device’s key by entering
‘remote host identification has changed’
If you have previously connected to a norns (either by this same IP address or simply norns.local) in the past, you may see a warning that the ‘remote host identification has changed’. This indicates that the norns now has a new host key, either because it is a different unit than your previously-connected norns or because you performed a fresh install.
The error will give you a filepath to your hosts file (~/.ssh/known_hosts), from which you can delete the specific norns entries, but if you’d like to erase the hosts file completely and start fresh, execute rm -f ~/.ssh/known_hosts in Terminal.
never type the password again
If you don’t have one already, generate a new SSH key. Now run ssh-copy-id we@norns.local. You should see output similar to this and be prompted for a password:
mbp@mbp.local /Users/mbp
% ssh-copy-id we@norns.local
/usr/bin/ssh-copy-id: INFO: attempting to log in with the new key(s), to filter out any that are already installed
/usr/bin/ssh-copy-id: INFO: 1 key(s) remain to be installed -- if you are prompted now it is to install the new keys
we@norns.local's password:

Number of key(s) added:        1

Now try logging into the machine, with:   "ssh 'we@norns.local'"
and check to make sure that only the key(s) you wanted were added.
Now you can simply type ssh we@norns.local for access:
mbp@mbp.local /Users/mbp
% ssh we@norns.local
Linux norns 4.19.127-16-gb1425b1 #1 SMP PREEMPT Mon Oct 26 05:39:00 UTC 2020 armv7l
 ___ ___ ___ ___ ___
|   | . |  _|   |_ -|
|_|_|___|_| |_|_|___| monome.org/norns

127.0.0.1 ~ $
sftp
You can manage projects and delete/rename files via maiden. But sometimes you’ll need to copy files between your computer and norns, like audio.
File management between norns and macOS is best achieved via Samba/SMB, but we suggest using SFTP to connect your computer to norns in case Samba is unsuccessful. An SFTP client (such as Cyberduck) can connect to the IP address shown on the norns screen.
Thanks to jlmitch5 for this sftp guide!
connect
This tutorial will help you connect norns to a Mac or Windows computer using Cyberduck, so that you can add and update scripts manually on the norns filesystem. It was written using Cyberduck 6.7.1, macOS 10.13.6, and norns 180828 on September 3, 2018.
Be careful when editing files on norns. If you delete files that norns needs to run, it could corrupt the filesystem which would require a complicated re-flash of the image to get back up and running. You most likely only want to be updating things in the dust subdirectory.
Alternatives to Cyberduck include Transmit for macOS and FileZilla for macOS, windows and linux. While the screens will be different, the goal is the same – to connect to norns over the IP address provided using SFTP/port 22.
-
If norns is not already running, boot it up. Navigate to SYSTEM / WIFI. You can either use norns in HOTSPOT mode, or by connecting to the same NETWORK that the computer you’ll be downloading the SFTP client to is on. See the network connect docs for more information about WiFi setup.
-
Download Cyberduck. You can find direct package installation for free from Cyberduck’s website on the changelog page.
-
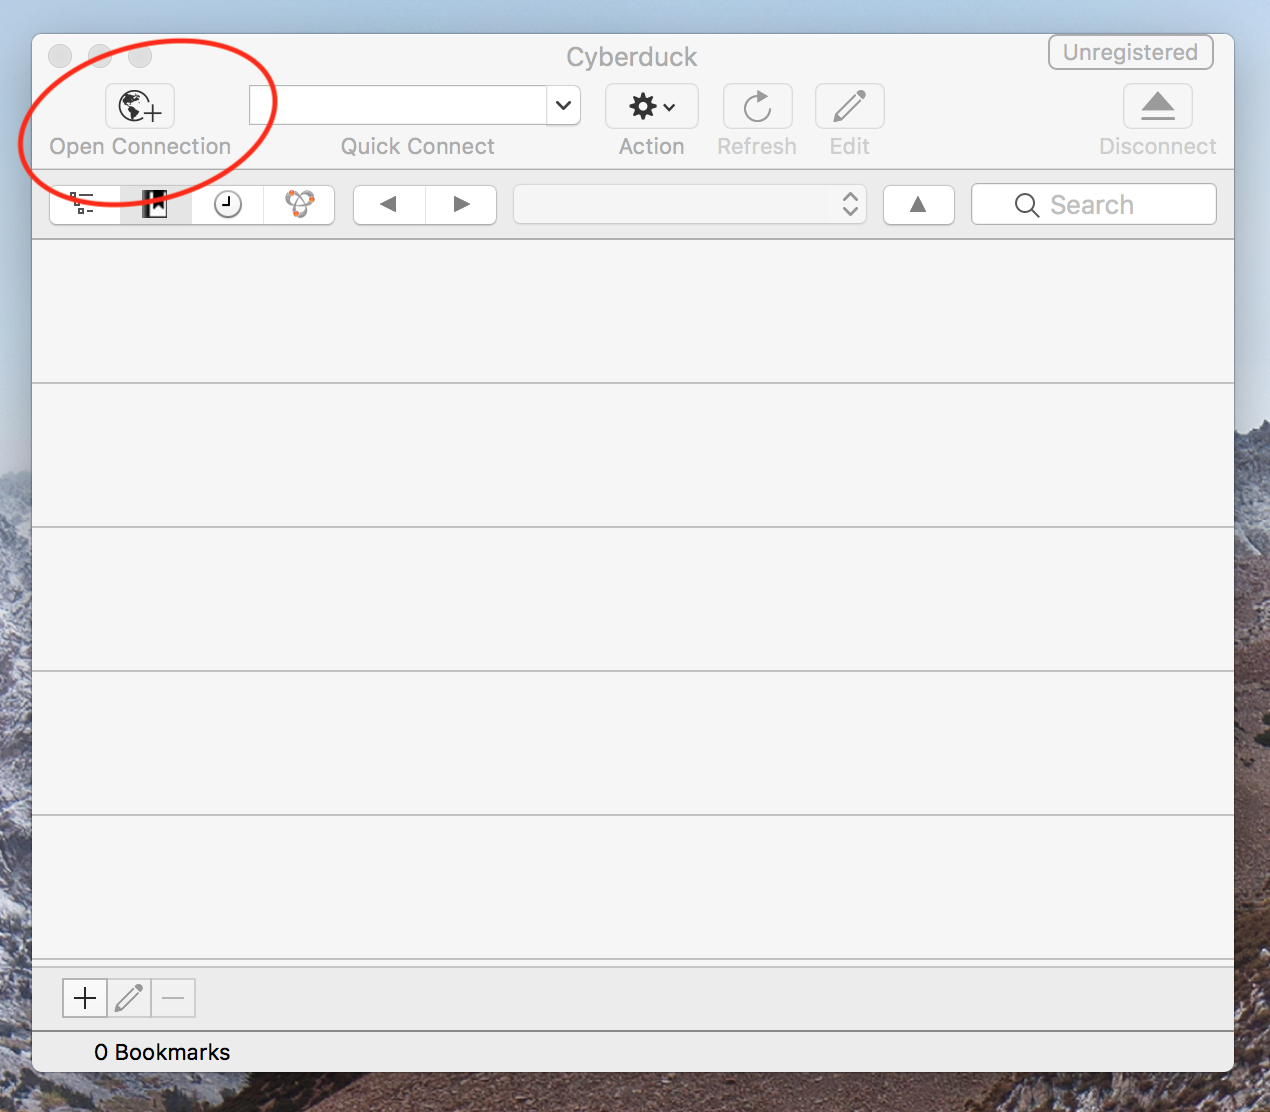
Open Cyberduck and click the “Open Connection” button in the top left corner.
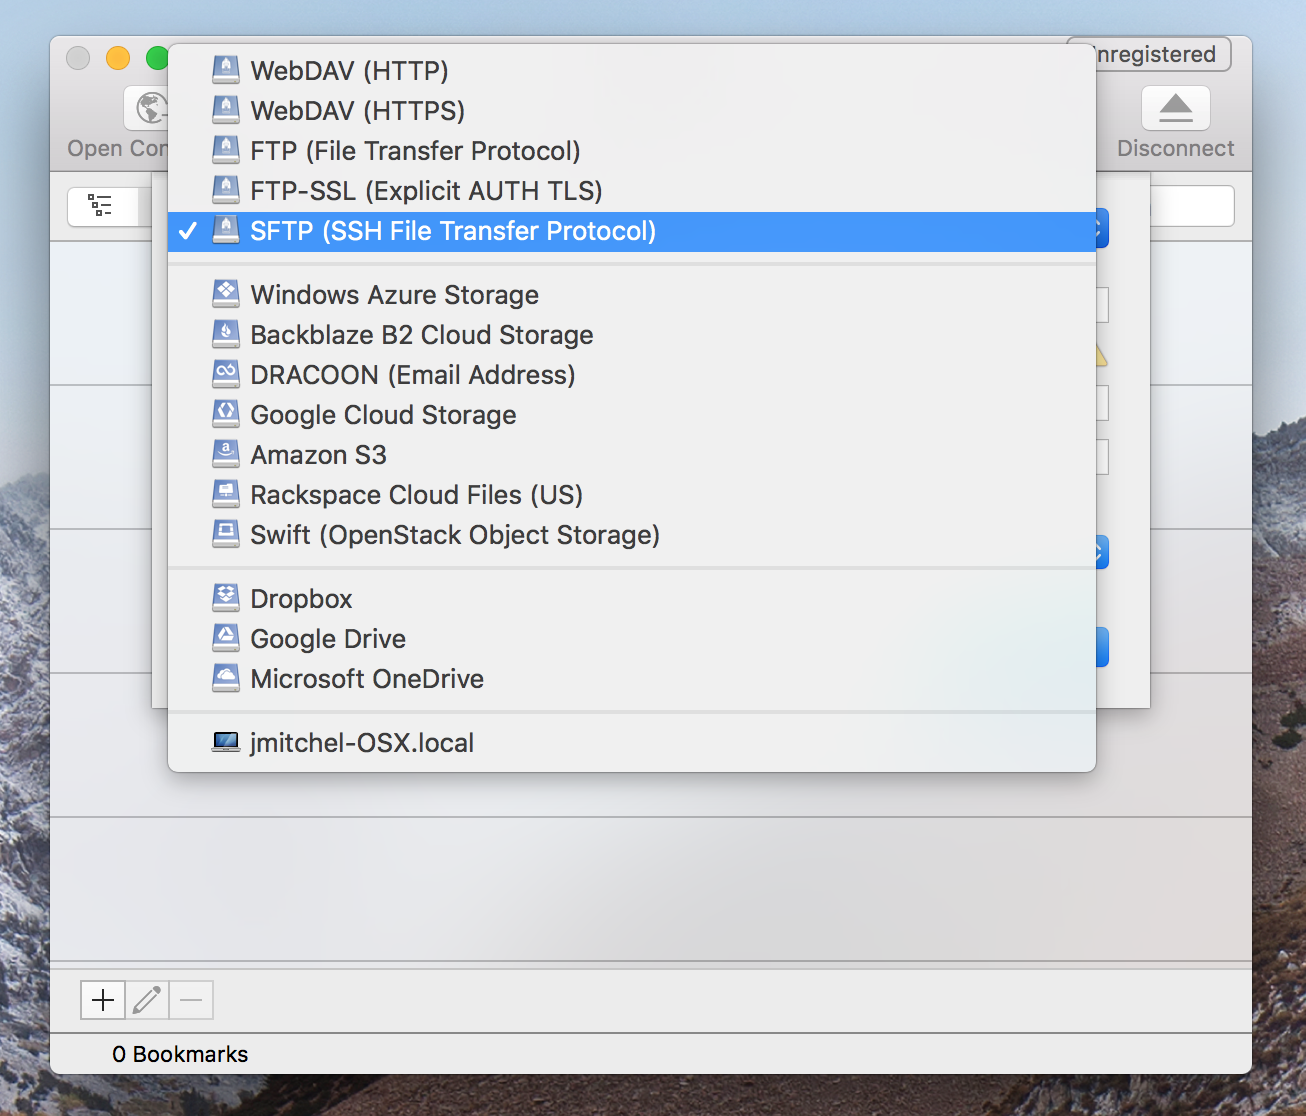
- Select SFTP from the dropdown at the top of the dialog that pops up.
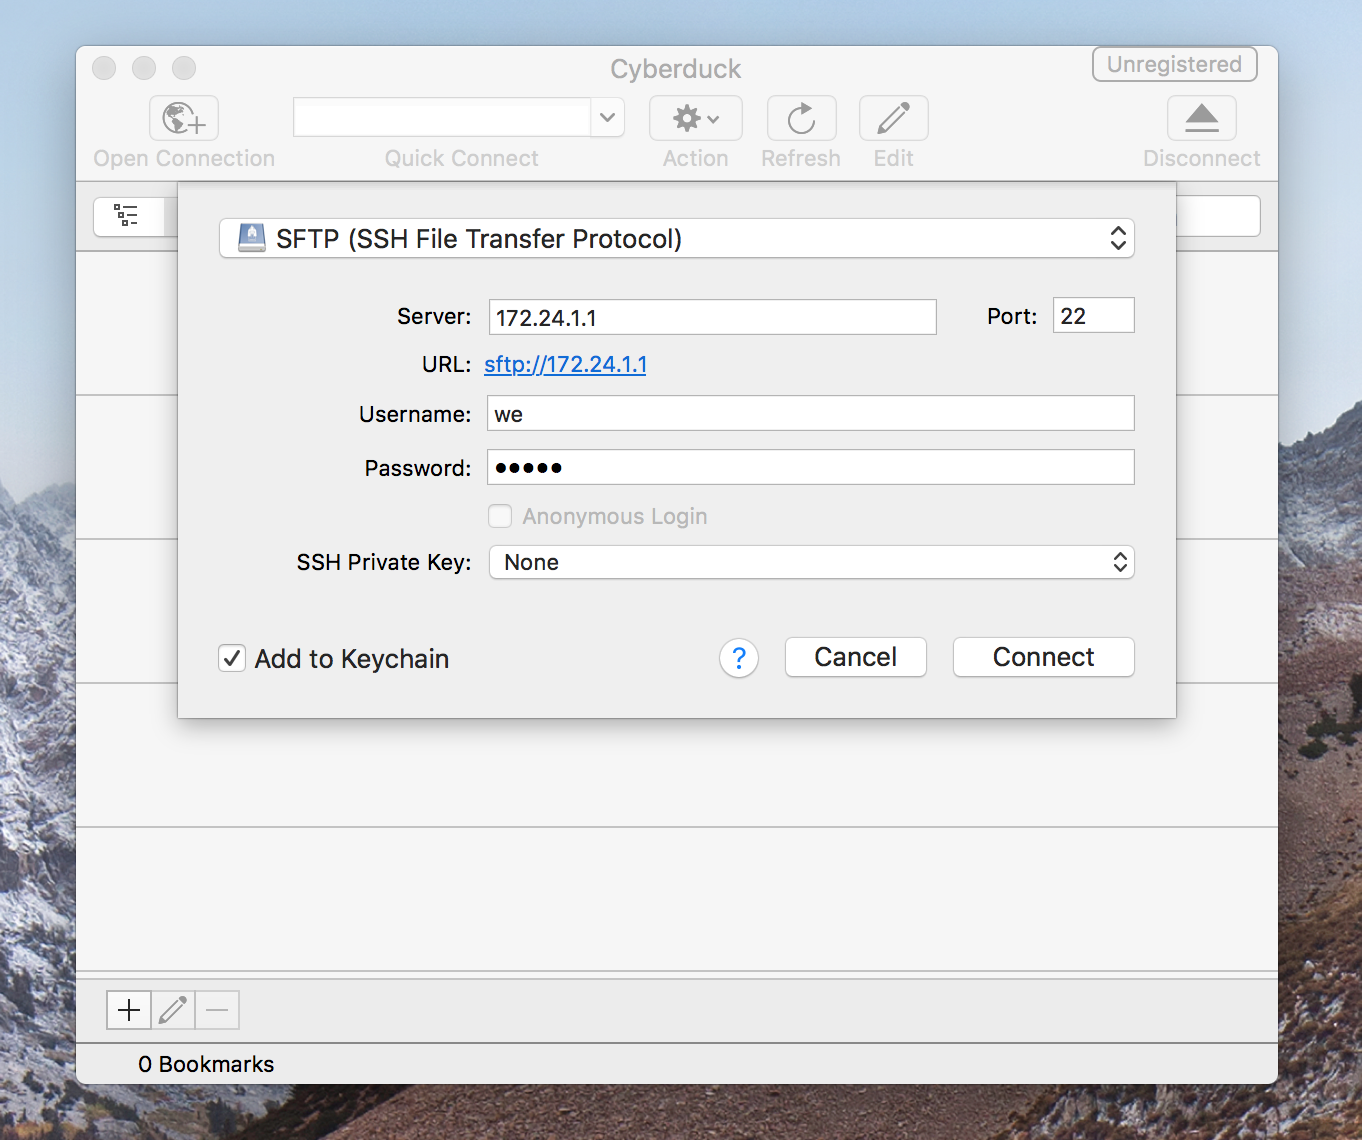
- Enter the IP address that is displayed on the second line of the norns SYSTEM / WIFI screen in the Server field of the dialog in Cyberduck. Enter “we” in the Username field and “sleep” in the Password field. The completed dialog should look like this (note that the IP address may be different, use the one given on your norns screen):
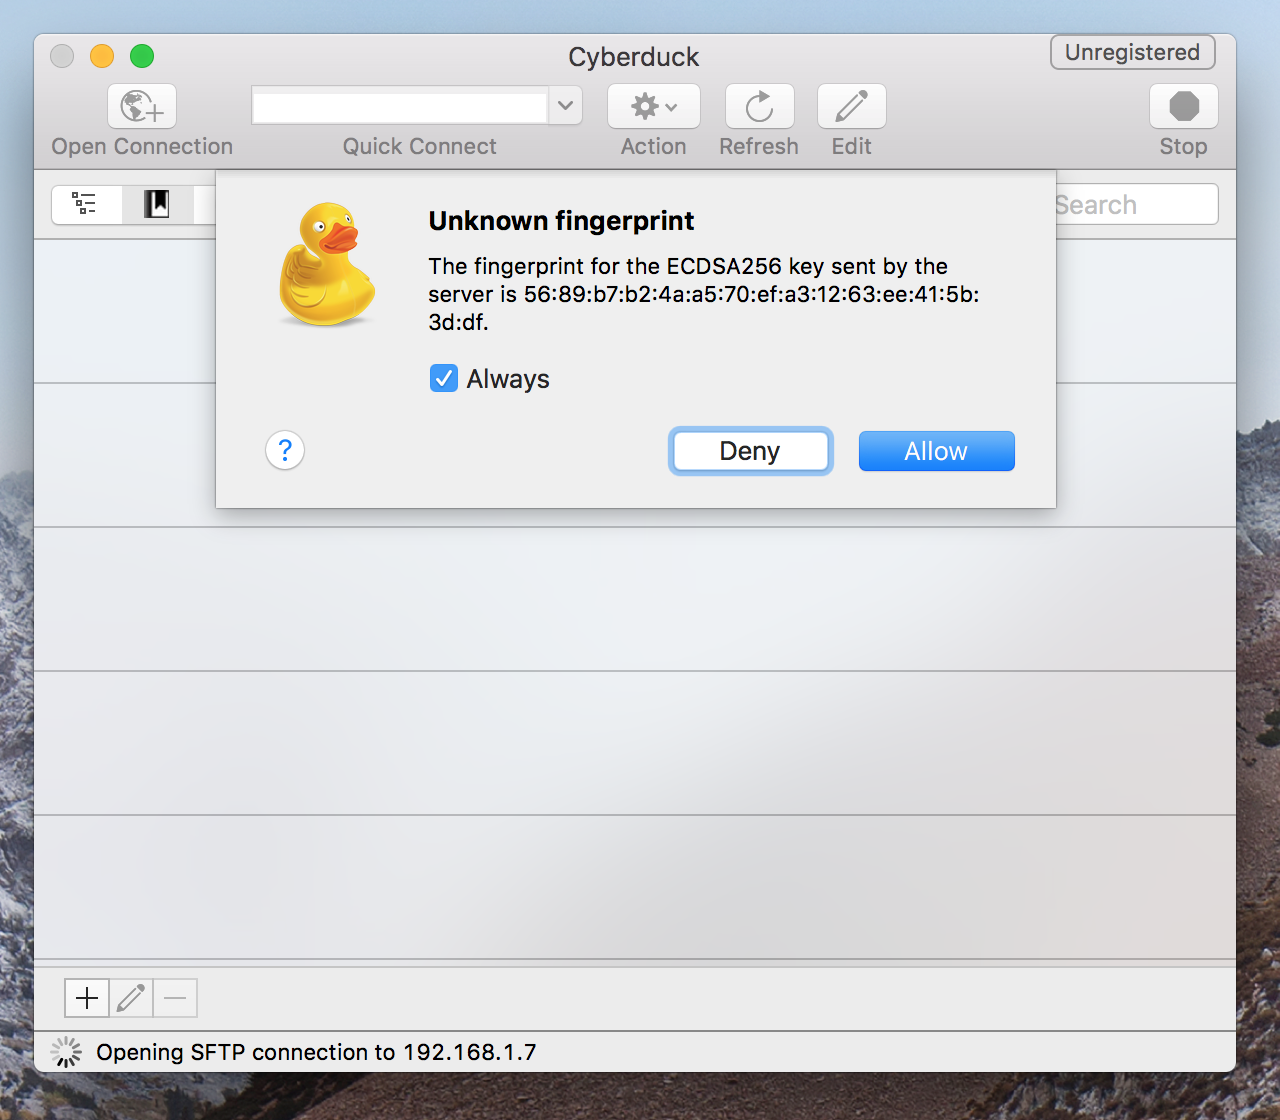
- If this is your first time connecting, an “Unknown Fingerprint” dialog will pop up, check “Always” and click Allow.
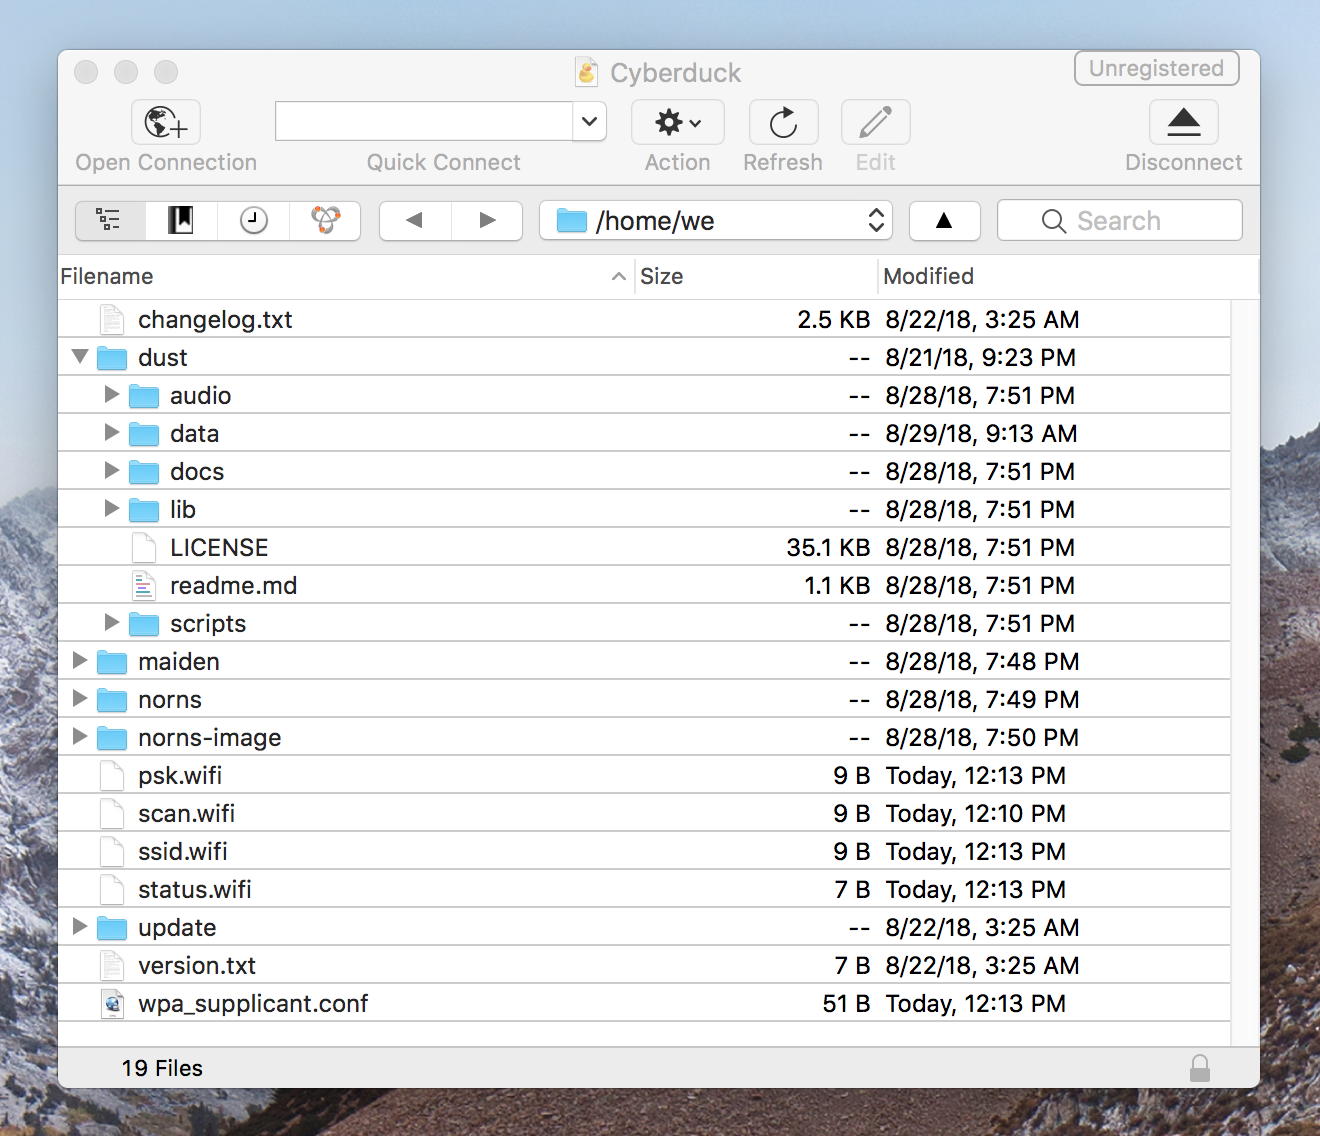
The norns filesystem should be displayed in the Cyberduck window. You can add, delete, and rename files in this window, just like you would with an external USB flash drive in your computer’s file explorer application.
Everything you need will be in the dust directory. See the file-tree overview in the main docs for an overview of what’s what.
file tree
Upon logging in you’ll be in the home folder which is /home/we/.
dust is the folder which contains everything we need. Here’s the layout:
dust/
  audio/          -- audio files
    tape/             -- tape recordings
    ...
  code/           -- contains scripts and engines
    awake/
    mlr/
    ...
    we/
  data/           -- contains user data created by scripts
    awake/            -- for example, pset data
audio
You can use Cyberduck to share audio files between norns and your computer. On norns, these files are stored under dust/audio – depending on which scripts you have installed, you may see many folders under audio or just a few.
tape is where the TAPE function stores recordings made on your norns.
Feel free to make folders inside audio to store various samples, field recordings, single cycle waveforms, etc. Each of those folders can also store subfolders, but please note that you cannot nest more than ten folder layers.
If you are importing audio to norns, please note that 48khz .wav files are best.
backup
If you want to make a backup of your scripts, psets or other data simply make a copy of the dust directory in /home/we via SFTP. Restoring from this backup is as simple as copying this directory from your computer back to the /home/we/dust directory on norns.
troubleshooting
If things hang and do not connect, try to connect again after restarting norns (and reconnecting on the SYSTEM / WIFI screen), as well as restarting Cyberduck.
serial
Without WiFi, you can connect to norns via serial / USB-UART by connecting the power cable to your computer.
Serial / USB-UART connection is only applicable to standard norns, not shield.
Power norns on while it’s connected to your computer and follow the steps for your OS:
macOS:
- open Terminal
- type
screen /dev/tty.usb - then, press TAB to autocomplete your serial number
- then type
115200
You’ll end up with something similar to: screen /dev/tty.usbserial-A9053JEX 115200
If you see a blank screen, press ENTER.
You’ll be asked for login credentials. Login is the same as SSH above.
linux:
dmesgto see what enumeration number your system gave norns- you’ll get something like this:
FTDI USB Serial Device converter now attached to ttyUSB0 - then, type:
screen /dev/ttyUSB0(or whatever enumeration number was given) - then type
115200
You’ll end up with something similar to: screen /dev/ttyUSB0 115200
If you see a blank screen, press ENTER.
You’ll be asked for login credentials. Login is the same as SSH above.
windows:
- open Device Manager and navigate to your computer’s Ports (COM & LPT)
- confirm the COM ID that your computer has assigned the USB Serial Port. For example, this norns is assigned
COM14: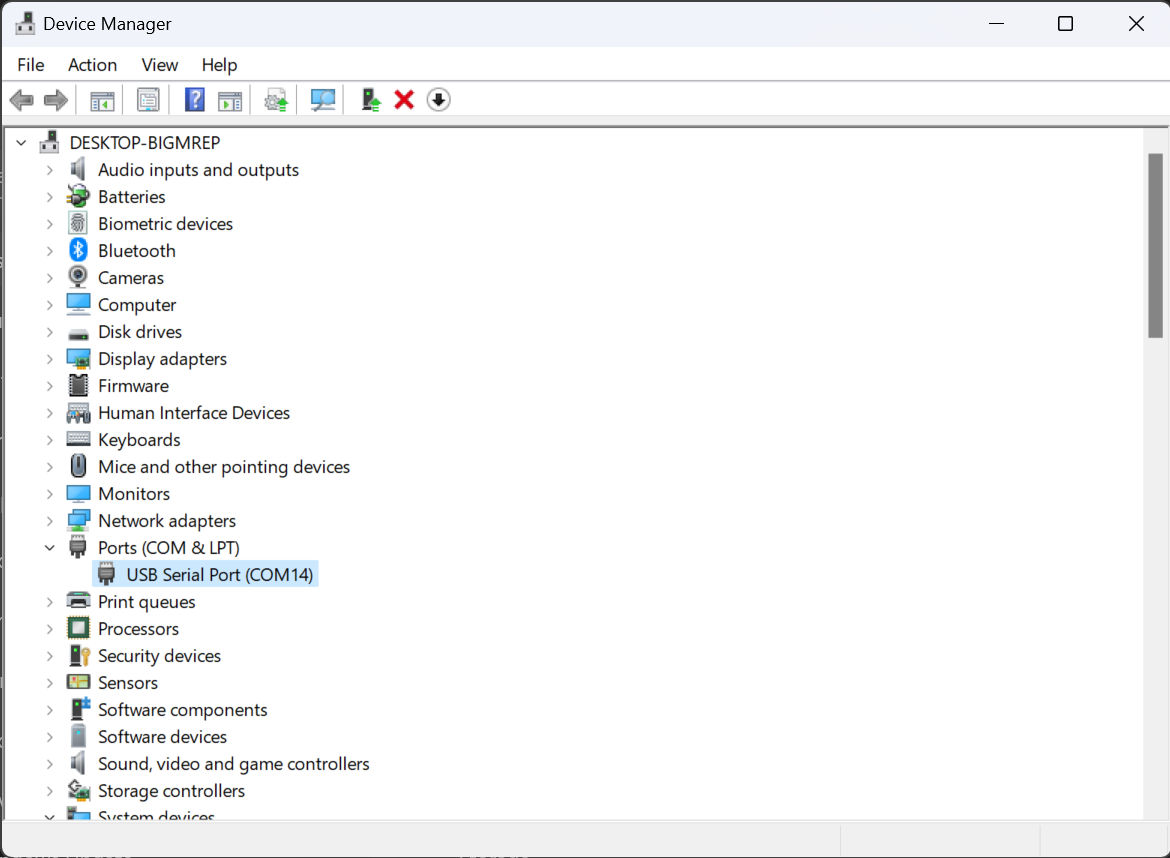
- download PuTTY, a free and open-source SSH client for Windows
- in PuTTY’s Session Category, choose Connection type: Serial and replace the Serial line with your COM ID.
- NOTE: do not choose the Connection > Serial menu! This process only works through the Session menu at the top of the list. For a visual, see below.
- replace Speed with
115200
You’ll be asked for login credentials. Login is the same as SSH above.
change SMB path
If you wish to add a new SMB mount path (e.g. to develop norns itself) SSH into norns and modify the config file located at: /etc/samba/smb.conf. For example, add this section below the [dust] entry to create a /home/we/norns mount path:
[norns]
Comment = norns
Path = /home/we/norns
Browseable = yes
Writeable = yes
read only = no
only guest = no
create mask = 0777
directory mask = 0777
Public = no
Guest ok = no
veto files = /._*/.DS_Store/
delete veto files = yes