norns shield
A DIY circuit which extends a normal Raspberry Pi, turning it into a norns.
Note: The norns shield is no longer produced by monome, but is open source hardware.
sections
requirements
- Raspberry Pi comes in many versions. Supported: 3B, 3B+, 4B.
- microSD card - use a high quality brand such as SanDisk Class 10 ($13 for 32GB)
- norns has no enforced maximum capacity limitation. the microSD card will be formatted in
ext4through the steps below – while this filesystem type can support volumes up to an exabyte (1 million terabytes), 128GB should be more than enough.
- norns has no enforced maximum capacity limitation. the microSD card will be formatted in
- Power supply - We highly suggest the official power supply for your model of Raspberry Pi. The Pi3B has a micro-USB power port and requires at least 2A and 5.25V ideally supplied through a cable with 24AWG or less. The Pi4 has a USB-C power port and 3A / 5.1V is recommended. Lower AWG = lower noise & more stable voltage delivery for better performance. Most consumer USB cables do not meet this spec, so please be sure to keep an eye out. You can also use a portable USB battery if it’s sufficiently large.
please note: The total cost for this project is ~$390 USD. no soldering is required, only screwdriver assembly done in minutes. Flashing the SD card should take 15 minutes of passive time. If you run into any trouble along the way, we are happy to assist via help@monome.org
comparison
There are some differences between the standard norns and norns shield:
- standard norns has a battery, 1/4” mono jacks, a separate stereo headphone jack and driver, very high quality audio, up to 32gb of storage (CM3+), WiFi via USB adapter, serial connection over power port
- norns shield has 1/8” (interchangeably referred to as 3.5mm) stereo jacks (headphones work on the output jack), expandable storage (microSD), built-in WiFi, and an ethernet port
Software is fully compatible between the two.
The norns shield hardware was updated in June 2021 for cleaner audio path and more mechanically robust jacks. It was revised again in early 2022 with a different codec to overcome the global supply crisis. Signal/noise performance between the 2021 and 2022 versions is the same, though the 2022 codec is slightly louder overall.
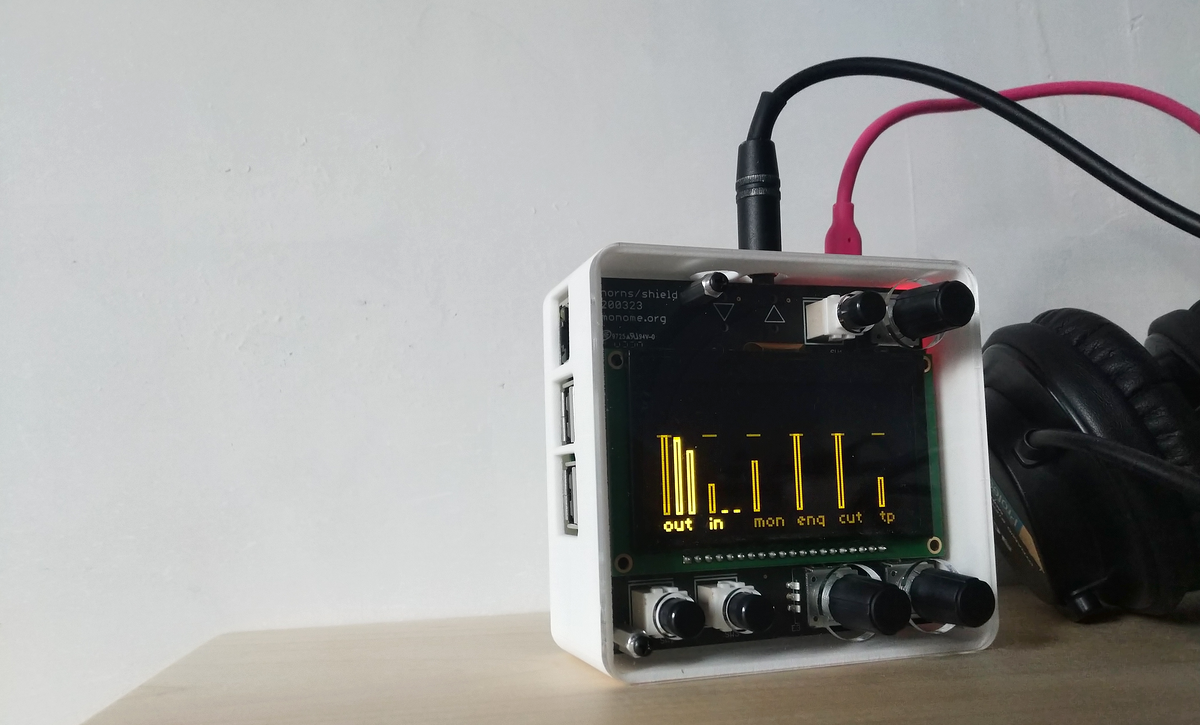
connecting audio
At the top of the shield’s board, you’ll notice two arrows – their points represent audio in (▽) and audio out (△). These jacks are each 1/8” stereo.

Note: the headphone jack on the Raspberry Pi itself is unused, as is the Pi’s HDMI port.
To learn more about how to use shield, please refer to the standard norns documentation, staring with play. Software is 100% compatible between the two, so the same instructions largely apply to both (and cases where things are different are notated within the docs).
flashing microSD card
Since the Pi uses a microSD card instead of internal storage, you’ll need to load the norns system (referred to as an image) onto the microSD card you intend to use with your Pi. This process (referred to as flashing) will erase and replace the microSD card’s contents with the norns image. We’ll use a program called Etcher, which makes flashing very straightforward. If etcher does not work for you, try the official Raspberry Pi Imager. Each is available for Linux, MacOS, and Windows. Be sure to use a high quality SD card – if you have any trouble, please try a different card.
If etcher or the Imager do not work for you, or if you prefer to use the command line, see this guide.
new 2022 shields (revision 211028): use the cs4271 images for pi 3 or pi 4 according to your hardware.
- download and install Etcher or the official Raspberry Pi Imager on your computer
- download the latest norns shield image to your computer. be sure to select the correct file according to your hardware: pi3 or pi4, and the correct audio codec. older shields use the cs4270, newer ones (version number 211028 or greater printed on the circuit board) use the cs4271.
- unpack the shield image from the
.tgz(which will result in an.imgfile) and insert your SD card into your computer - run Etcher or the Imager, which will ask you to direct it to the unpacked shield image and to identify your microSD card as the target – after that, the program will take care of everything
- once the process completes (allow it to verify!), eject the microSD card from your computer and move onto the assembly steps below
please note: don’t forget to expand your filesystem after you boot norns for the first time!
assembly
Please note:
- the antistatic bag your shield comes in will already be unsealed – don’t worry, it was opened in our workshop to verify assembly and for a final stage of testing before shipping
- if you will be using a Pi4 with your shield, you may need to cut the separators on the side of the white bottom case for optimal fit – please see this lines post for steps to complete an at-home modification. if you have access to a 3D printer and want to remix the case yourself, JHC has generously made the
.stlfiles freely available here.
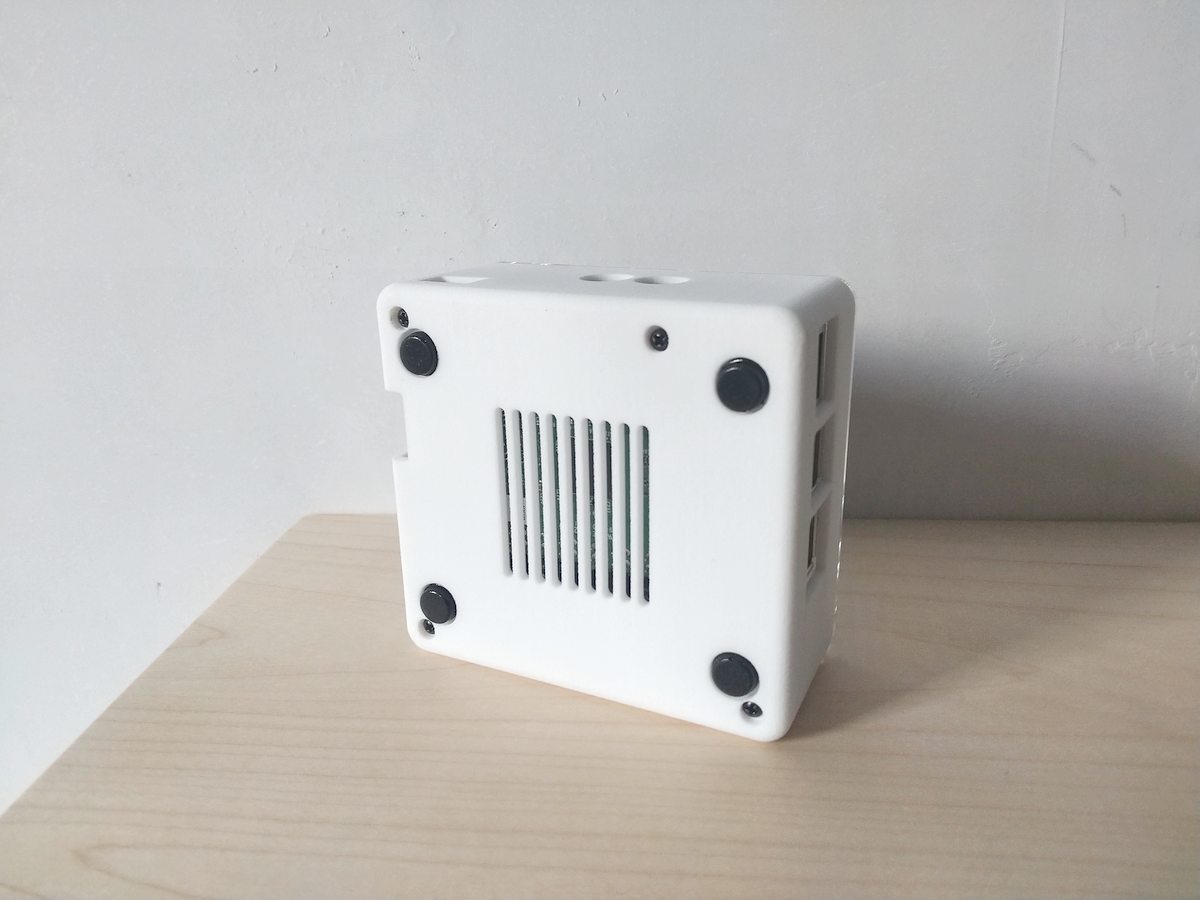
If your shield is version 211028 (21 = 2021, 10 = October, 28 = 28th day) or later, it has a white sticker on the back – do not remove it, as it helps keep part of the circuit non-conductive. This sticker is helpful in reducing audible WiFi interference from the Pi.
Let’s begin! All you need is a normal phillips-head screwdriver.
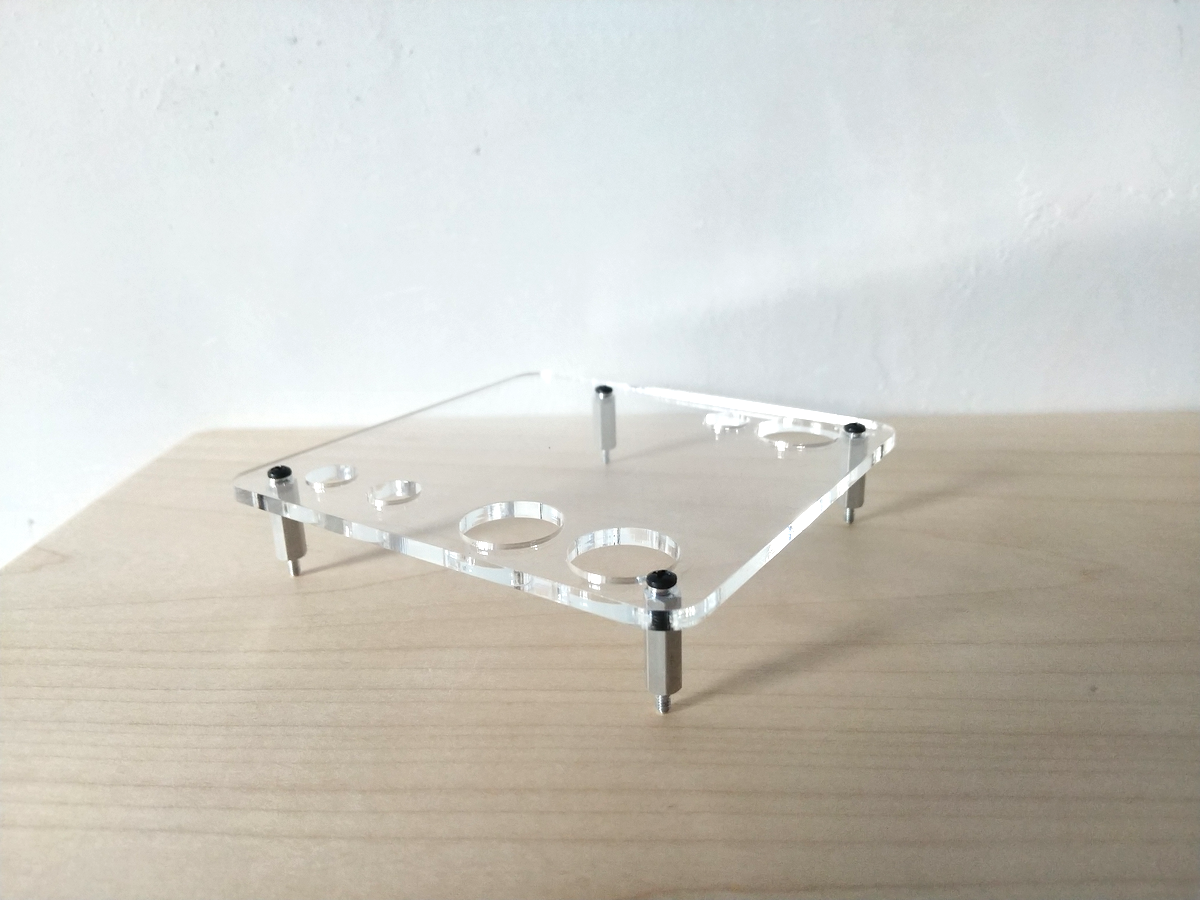
Peel the wrapping from the clear acrylic cover – if you have trouble, try coaxing from a corner. Observe the orientation below to see which way is up and add the four short standoffs, using the four short screws:
The black button caps have square holes that fit snugly over the white buttons of your shield. Press down until they click on with a satisfying snap. Then, press the knob caps into the top of the knobs and put the knobs onto the encoders:
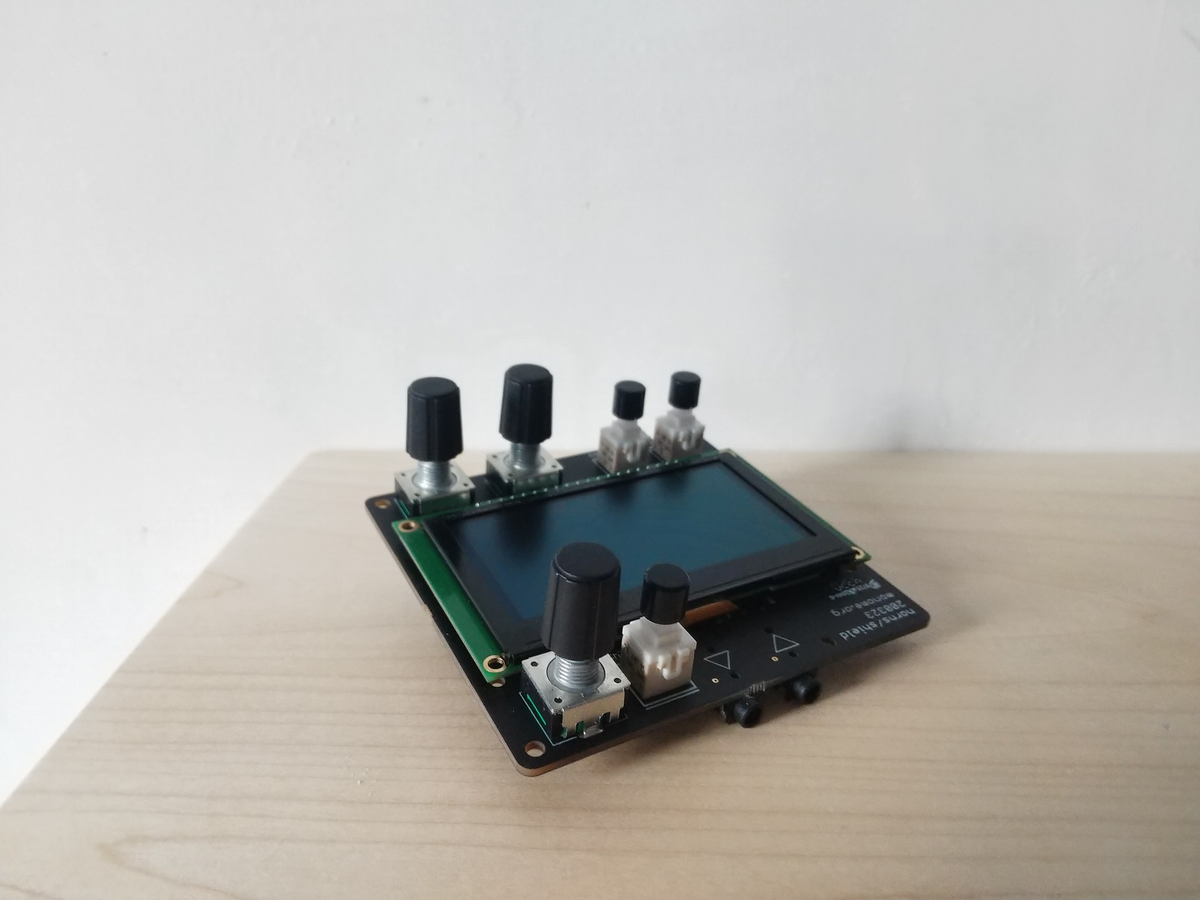
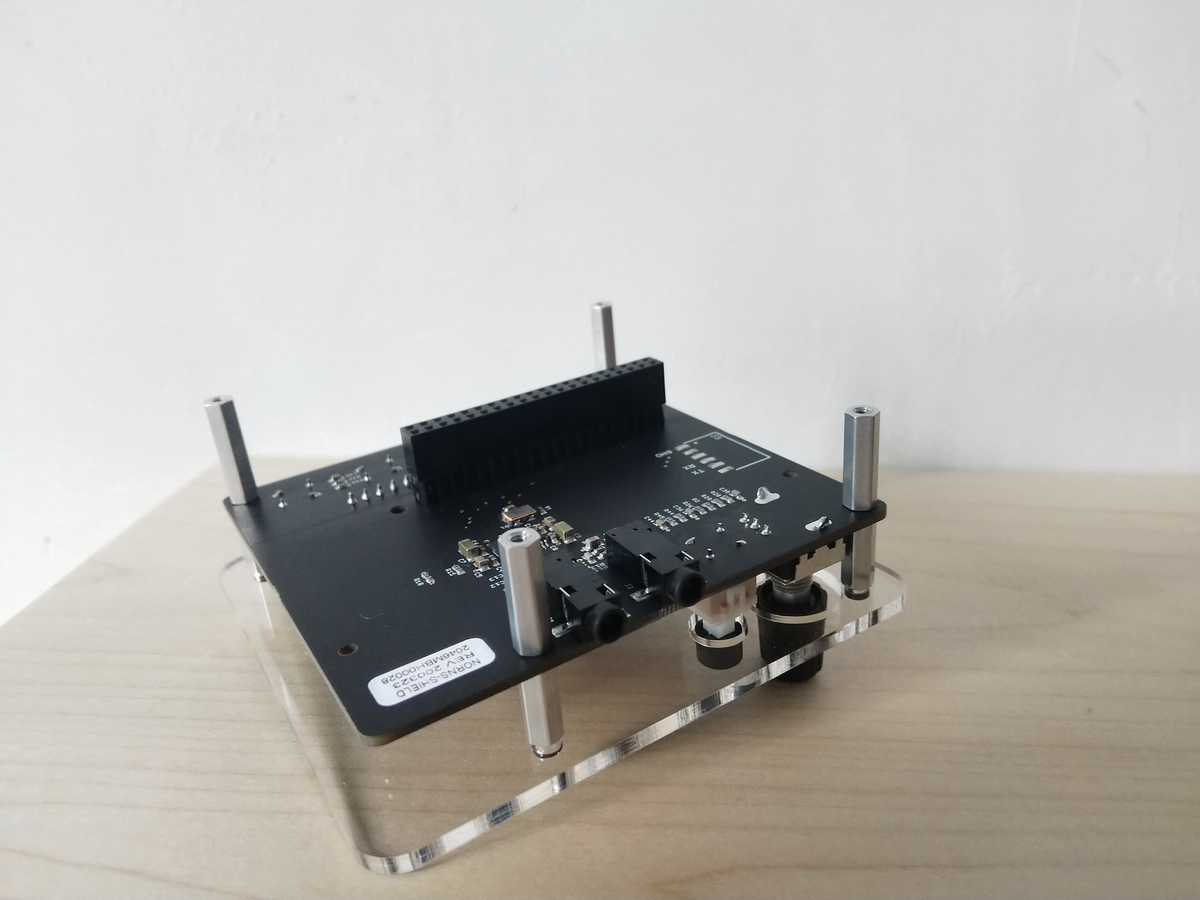
Peel the protective sheet away from the screen. If your shield is a 211028 model, do not remove the white sticker on the back of the board. If you have a dust-blower handy, remove any residual debris on the inside of the acrylic and on the screen. The acrylic assembly will fit over the top, poking the threads through the circuit board. Flip it over and add the longer standoffs. The short standoffs go near the audio jacks. Hand-tightening is sufficient:
Attach the Pi to the corresponding header on the shield. Attach the white case. Add four long screws to secure the case (please be careful not to over-tighten, as these screws will pull the shield downward and too much pull might crack the acrylic top). If the top-side acrylic does not align with the bottom case, loosen the top-side screws to adjust the alignment and gently screw them back down. Finally, add the rubber feet:
Lastly, insert your newly-flashed microSD card into the Raspberry Pi.
power on, power off
ON:
- locate the micro-USB (Pi 3) or USB-C (Pi 4) port on the back of the unit – this is the power input
- attach a high quality Raspberry Pi power supply (see the requirements section above for recommended specs) to the power input
- the red light on the Pi will be steady, while the not-red light will flash
- in a few seconds, you’ll see a sparkle animation on the screen
OFF:
- press K1 and navigate to HOME
- use E2 to select SLEEP
- press K3 – you’ll be asked to confirm
- press K3 again to go to SLEEP
- wait until you see the not-red light on the side of the Pi stop blinking and go out completely
- only after the not-red light on the side of the Pi is no longer visible: remove the power connector from the Pi
explore + expand filesystem (important!)
Once norns shield is on, play will orient you to the norns system as well as how to control awake, the startup script that should be playing on first boot.
You should also connect to WiFi to run a software update, in case the shield image is behind the latest release. To learn more about software updates, visit the latest norns update thread on lines.
Once you’re settled in, you might notice that shield doesn’t seem to see the entire capacity of your microSD card. This is normal, since shield can’t anticipate how much space it’s allowed to allocate for itself. To expand the filesystem:
- open the terminal program on a computer connected to the same network as your shield
- Windows: use PowerShell
- Mac: use Terminal
- Linux: use your favorite
- type:
ssh we@norns.localand press Enter- if you have previously connected to this shield in the past, you may see a warning that the ‘remote host identification has changed’. this is because the shield now has a new host key. the error will give you a filepath to your hosts file, but if you are on MacOS you can simply execute
rm -f ~/.ssh/known_hostsin Terminal to erase the previous hosts file and start fresh. - if you see any warnings about a ‘key fingerprint’, you can safely continue connecting (eg. enter ‘yes’)
- if you have previously connected to this shield in the past, you may see a warning that the ‘remote host identification has changed’. this is because the shield now has a new host key. the error will give you a filepath to your hosts file, but if you are on MacOS you can simply execute
- this will prompt you for a password, which is:
sleep - type:
df -hand press Enter- the information returned to you next to
/dev/rootwill show the current allocated Size of the card - if you see
3.6Gand your microSD card is actually larger than 4 GB, please follow the rest of the steps in this section! otherwise, if the allocated Size is close to your card’s capacity, then there’s no need to continue.
- the information returned to you next to
- type:
sudo raspi-configand press Enter (or type:sudo raspi-config --expand-rootfs; sudo shutdown -r nowand press Enter to skip to the last step without a GUI) - navigate to
Advanced Optionsand press Enter - select
Expand Filesystemand press Enter - dismiss the alert by pressing Enter, navigate to Finish (press keyboard right arrow twice) and press Enter
- when asked to reboot, select Yes and press Enter
- norns will begin powering down, which will take a few minutes after this procedure, and will reboot
- if you encounter any errors after this reboot, simply power your device down and start fresh
Once your norns has rebooted, press K2 on the SELECT / SYSTEM / SLEEP screen to toggle on some system statistics – the number next to disk will show how many megabytes are still available on your microSD card. 1000 megabytes = 1 gigabyte, so a 32 gigabyte microSD card should have approximately disk 27570M available storage.
credits
shield circuit design by tehn. 3D enclosure design by JHC.