II Communication Upgrade
Monome Trilogy upgrade for Teletype Communication
In order for the monome trilogy modules to interact with teletype, they use a communication bus called ii. This is a simple I2C bus implemented over a 3 or 6 pin ribbon cable. While Teletype ships with the required header already populated, older trilogy modules need to have a small 3pin header attached to the circuit board.
The three required 3-pin headers are included with teletype, inserted into the II ribbon cable in the box. You will only need to use as many headers as you have trilogy modules, up to a maximum of three. Remove any remaining headers from the ribbon cable before installation.
Soldering the headers
Remove the trilogy modules to be upgraded from the case. The process will be easiest if you also remove the ribbon cable from the module.
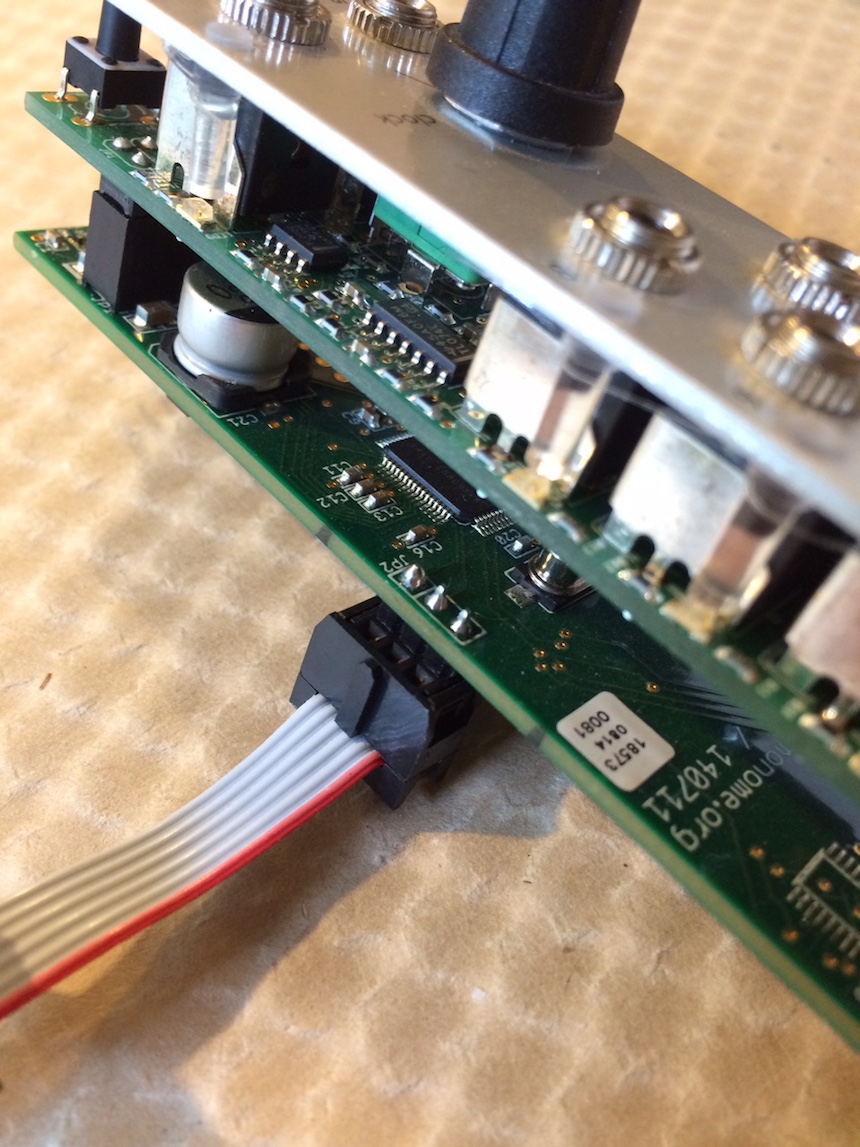
Looking at the rear of the module the location for the header is in the center-left with the words gnd, scl, and sda printed next to the gold holes. Viewed from above there is a double-box surrounding the pins with the marking JP2.
Insert the short end of the header into these three holes and make sure the header is as vertical as possible. You might find it easiest to prop up the top end of the module with a few coins or a patch cable.
Solder the three pins.
Repeat this process for all of your monome trilogy modules.
Connecting the trilogy
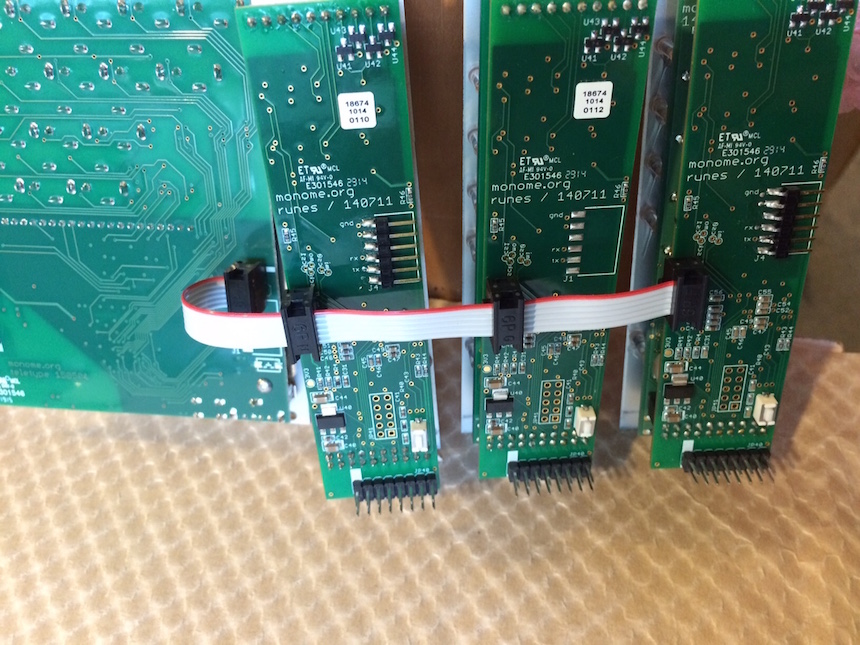
One, two or three trilogy modules may be connected to teletype at any time. Note that only one of each of kind of module is presently supported.
First connect the cable to teletype, using the connector with the opposite orientation to the other three modules. Align the red-stripe to the white marking on the circuit board, closest to the top of the module. Looking at the rear of the module, the cable attaches on the right and passes to the left.
Next, folding the II cable back over itself, connect it to the newly attached header on your trilogy module. Which row of pins in the cable you attach to does not matter, so long as you make sure the red stripe is facing toward the the top of the trilogy module, noted as gnd on the circuit board.
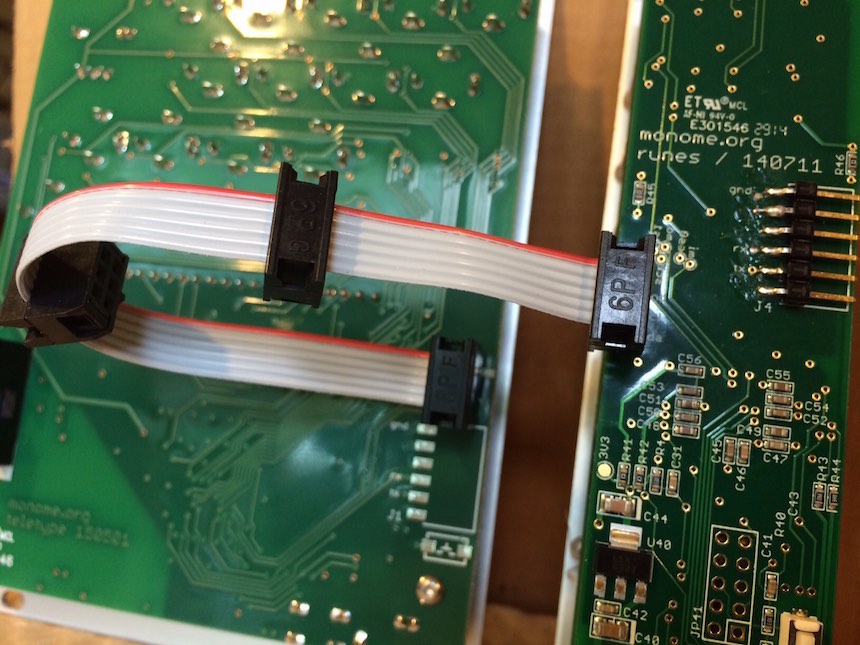
If using only one or two trilogy modules, use the furthest connectors on the cable so the II ribbon folds underneath teletype allowing the most slack in the cable.
If connecting all three trilogy modules there is a small juggling act to holding the modules together as you insert them into the case. It is generally easiest to attach the power ribbon cables before adding the II cable.
Firmware
The trilogy modules will likely needed newest firmwares installed– the II functionality was introduced after most trilogy modules shipped.
See the firmware updates page for a walkthrough on updating.
In Use
Now your trilogy modules are prepared to receive commands from Teletype. There is a scene demonstrating some of the II commands included with Teletype, but much much more to be explored by looking at the full documentation on the Teletype page.