bus power upgrade
for series (walnut and orange lighting) monome 128 and 256 devices.
required parts
- short length of wire (22-26g stranded)
- 470uF electrolytic capacitor (ex: digikey p/n PCE4576CT-ND)
required tools
- pliers
- soldering iron
upgrade kits are available from monome.
or, if this process looks like it’s not for you, we can do it for you (at a greater cost) contact help@monome.org.
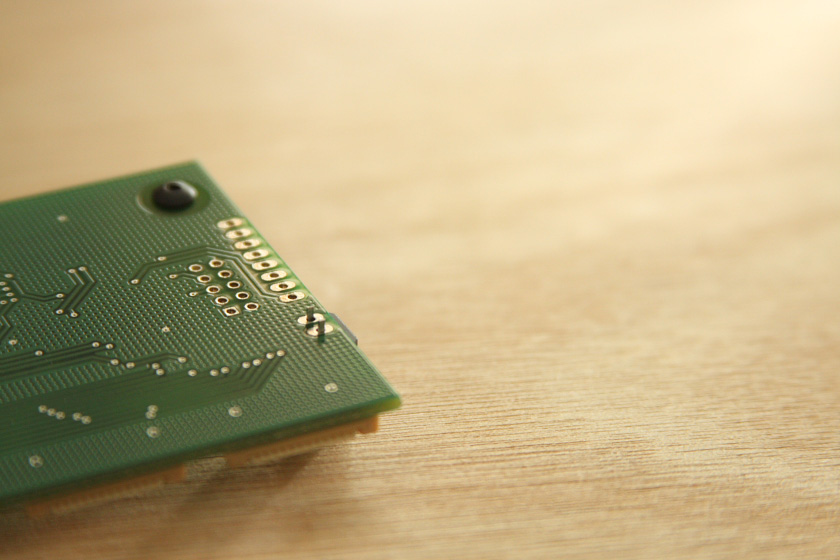
remove logic board
all modifications happen to the logic board. remove it according to howto - disassemble the two fifty six. (disassembly is identical for monome 128).
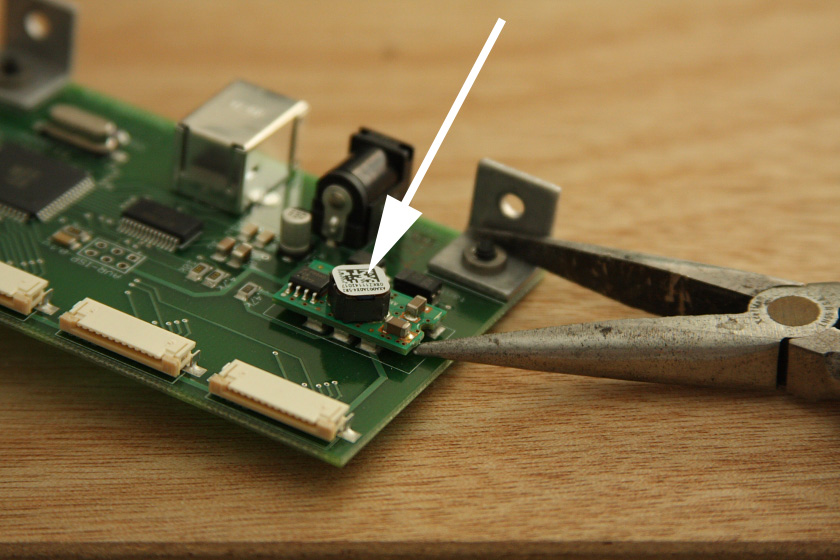
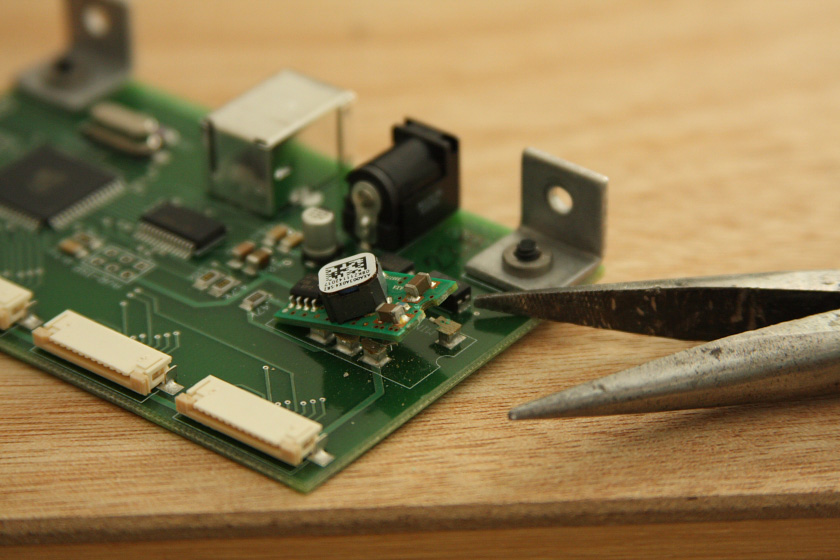
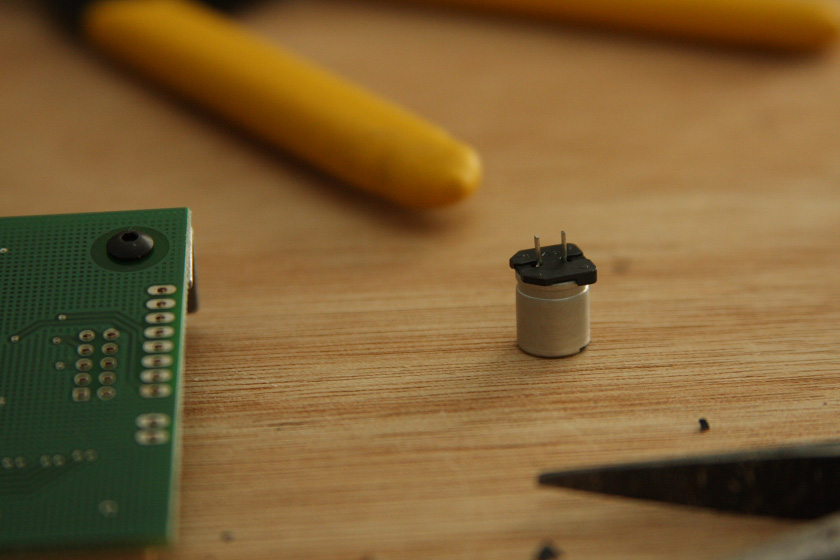
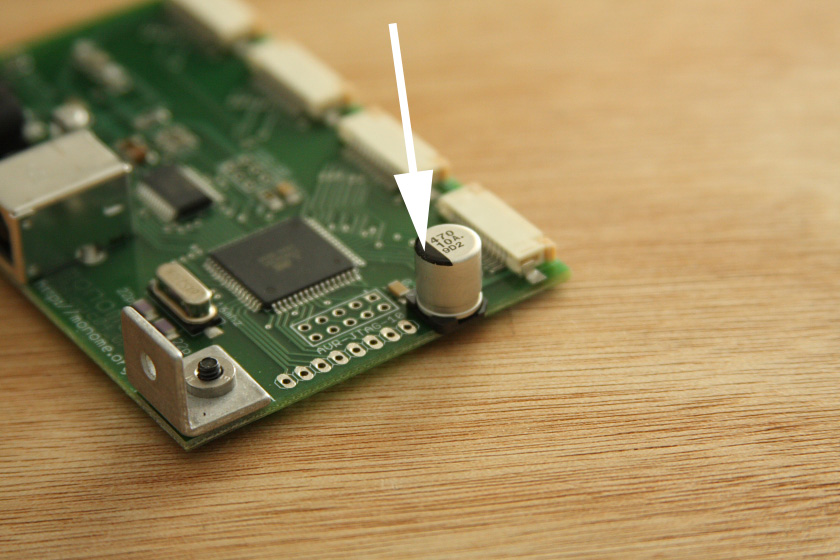
remove DCDC converter
this will certainly make you uncomfortable. the DCDC is the part indicated by the arrow in the photo below– a bunch of small parts mounted to another circuit board. pry a set of pliers underneath and pull it off. this will require a bit of force. if traces come up with the pads, don’t worry, just cut them before they run too far.
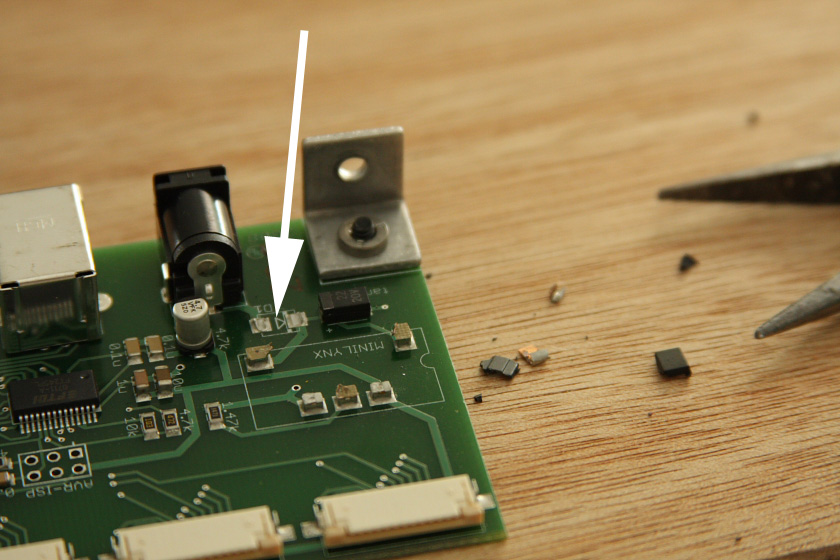
remove diode
indicated by white arrow. you could use your soldering iron, or you can simply use your pliers (give it a twist to remove– it’ll probably break apart).
install capacitor
bend the legs straight.
this capacitor has a polarity (indicated by the black bar on top). do not put this in backwards!
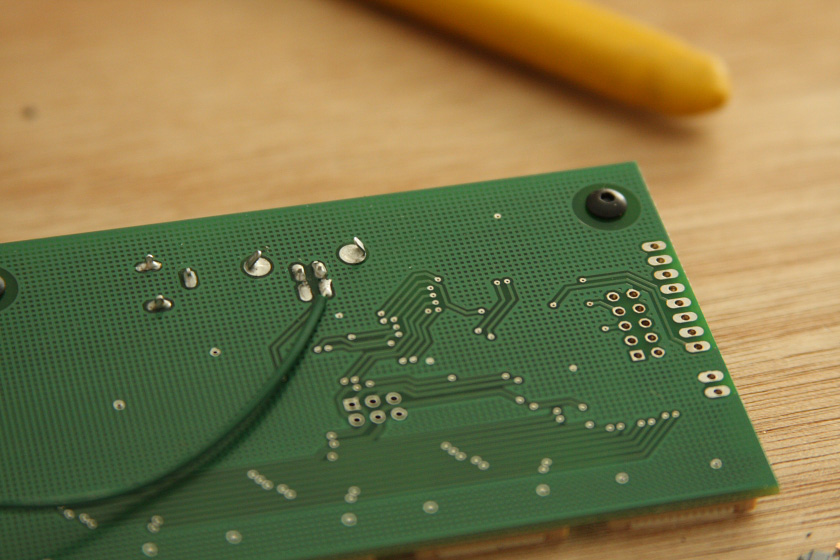
jumper wire
connects between usb power and logic board power. ensure a solid, clean connection. add solder to each point, don’t simply try to heat up and stab the wire in.
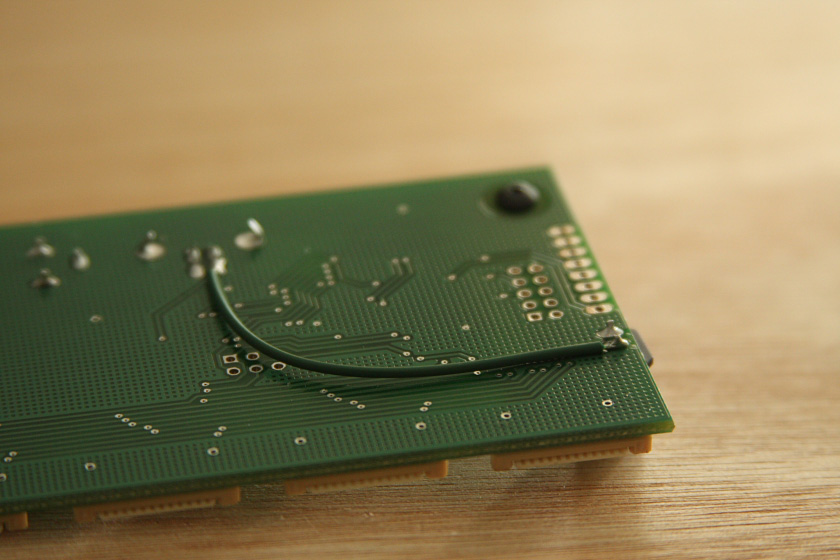
complete
bus power upgrade finished!
suggestion for side plate finishing:
made of high grade 5052 aluminum, the side plates are soft enough to be workable.
each part is machine finished and have a brushed aesthetic. if you’d like to go for a higher polish, use steel wool or high-grit sand paper. with enough effort you can achieve near-mirror-quality.
this will also remove any scratches or markings.