arc disassembly: 2012
Caution: this edition of the arc has many custom components, and the assembly in general is somewhat complicated. It’s potentially easy to mess this up– not causing permanent damage, but there’s a high degree of finesse to assembling these units solidly.
Tools:
- 3/32” hex driver
- 1/16” hex driver
- 0.05” hex driver
- 1/4” socket driver
- two very small drivers (for prying encoder wheel)
One reason you may want to disassemble your unit is to change the knob friction. Unfortunately this requires basically a complete disassembly, shown below.
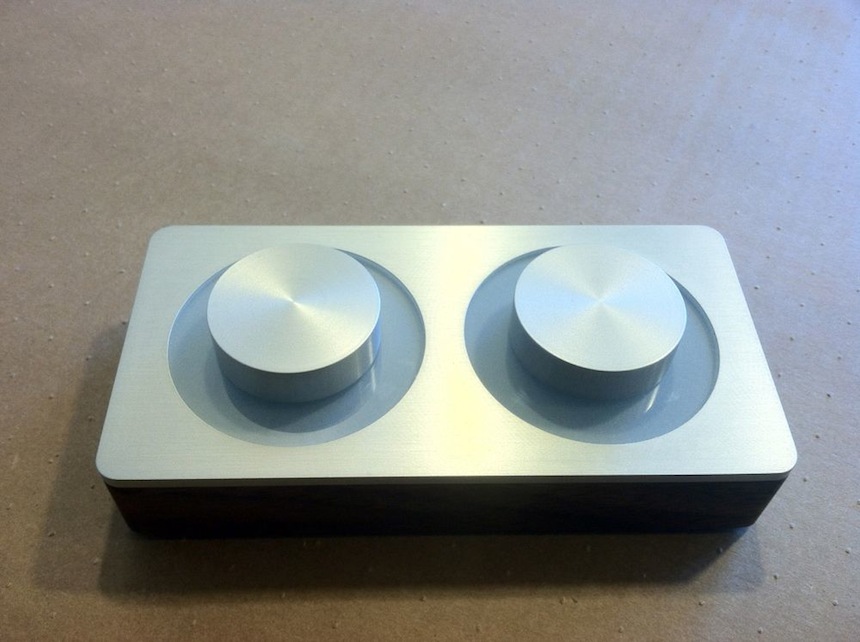
completely built
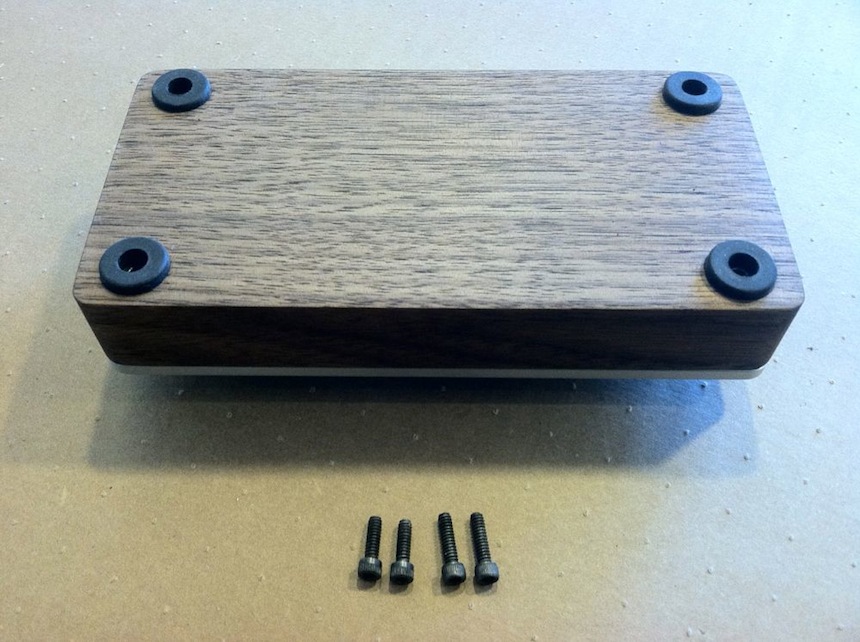
remove hex screws
Use 3/32” driver
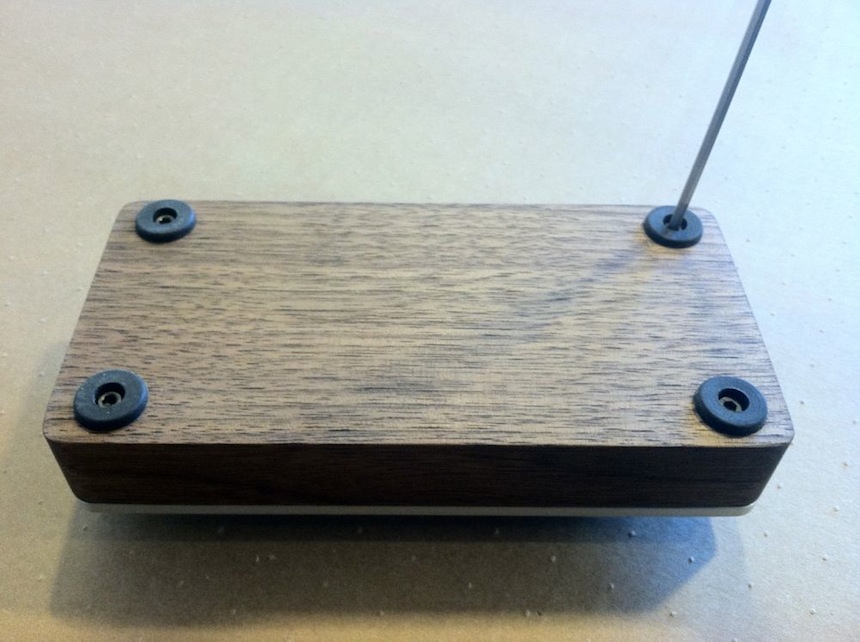
take note
Two different lengths. The short screws go on the USB side.
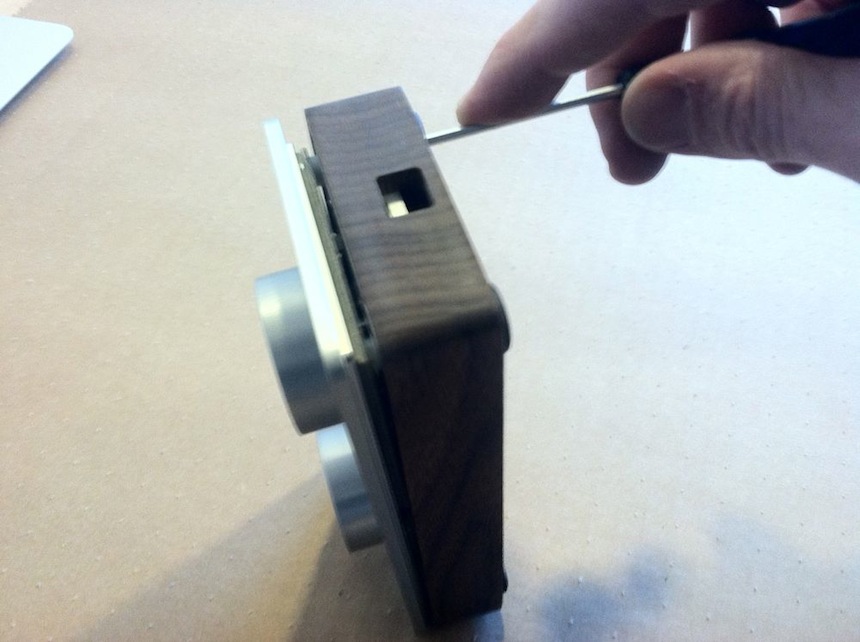
pry open top plate
Insert the 3/32” driver to push the top plate free. This generally works better if you start on the USB side and work your way around.
assembled top plate
For reference. Note how ribbon is tucked under USB board, away from the encoder wheel.
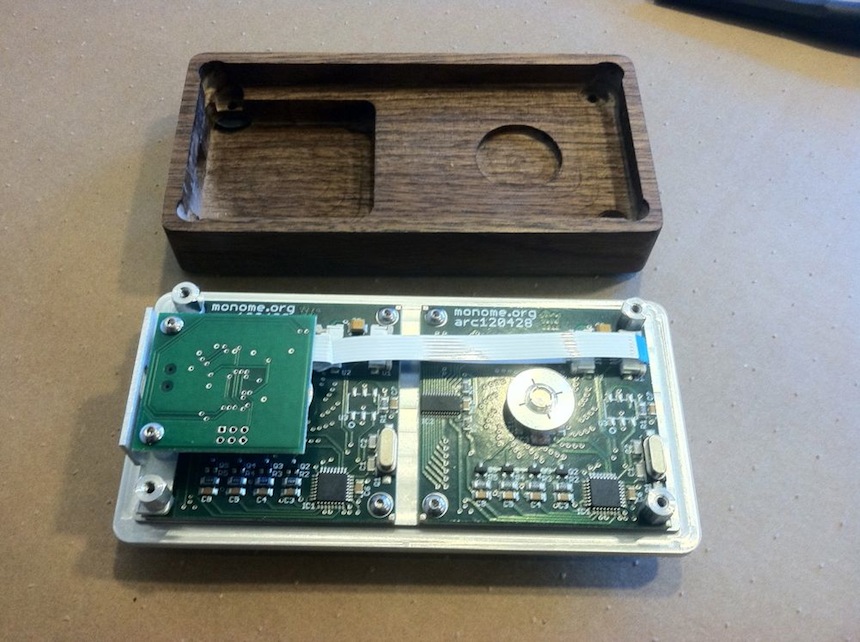
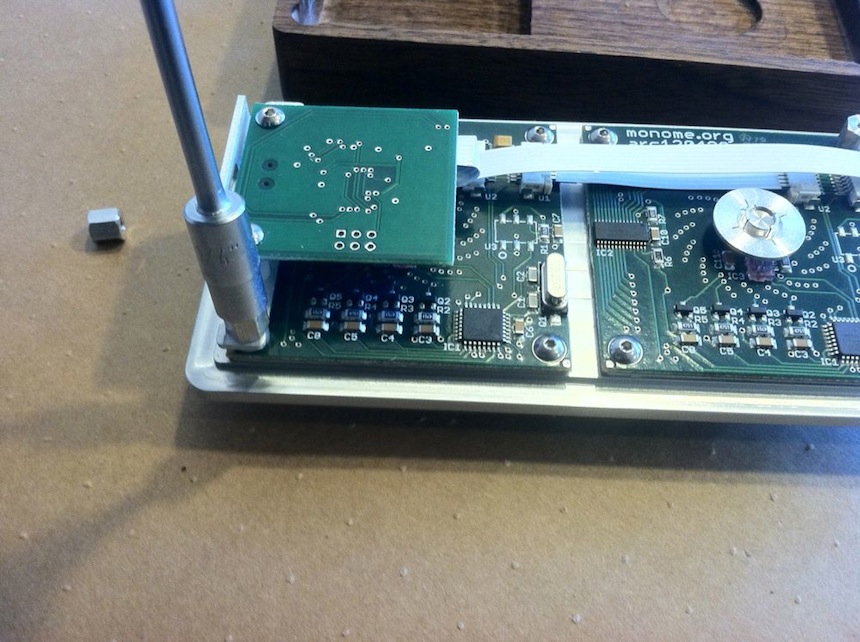
remove hex standoffs
Use a 1/4” socket.
USB bracket mounting
Note the position of the long mounting hole on the USB bracket. For the arc 2 (shown) the bracket is pushed forward. For the arc 4 this needs to be pushed back so that the set screw (black post) touches the opposite side.
Also note that when assembling, the set screw may be a little short. If this is the case, back it out of the top plate slightly so that the hex spacers can get more teeth into it.
Also, under the mounting bracket are two nylon spacers.

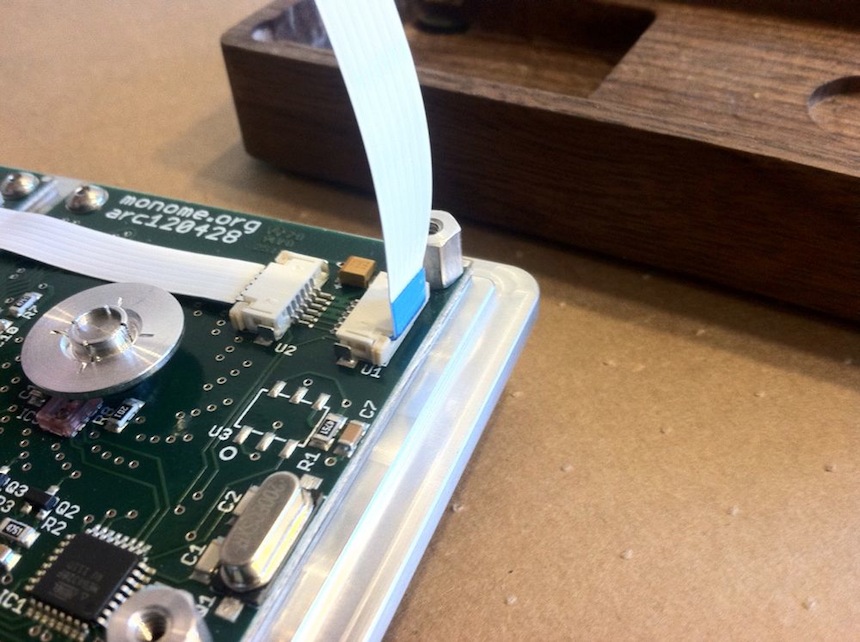
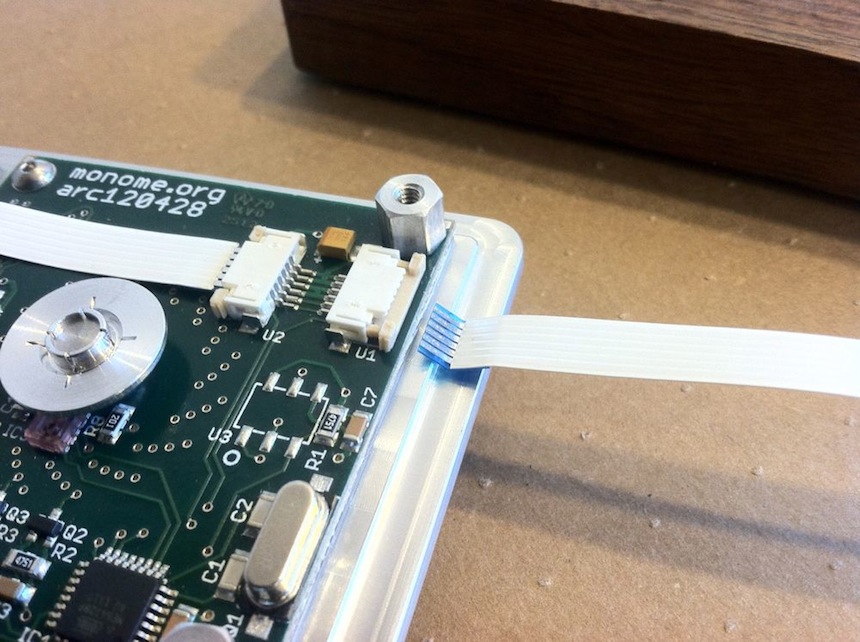
USB ribbon assembly
Note the ribbon has the blue side up on the USB board. The blue side is down on the arc ring boards.

ribbon bend on arc board
Due to clearance this ribbon needs to be bent at a right angle. Make sure it is fully seated. There’s a chance when installing the plate into the enclosure that this part may get caught on the wood, disconnecting the ribbon. Check for this if the unit doesn’t work upon reassembly.
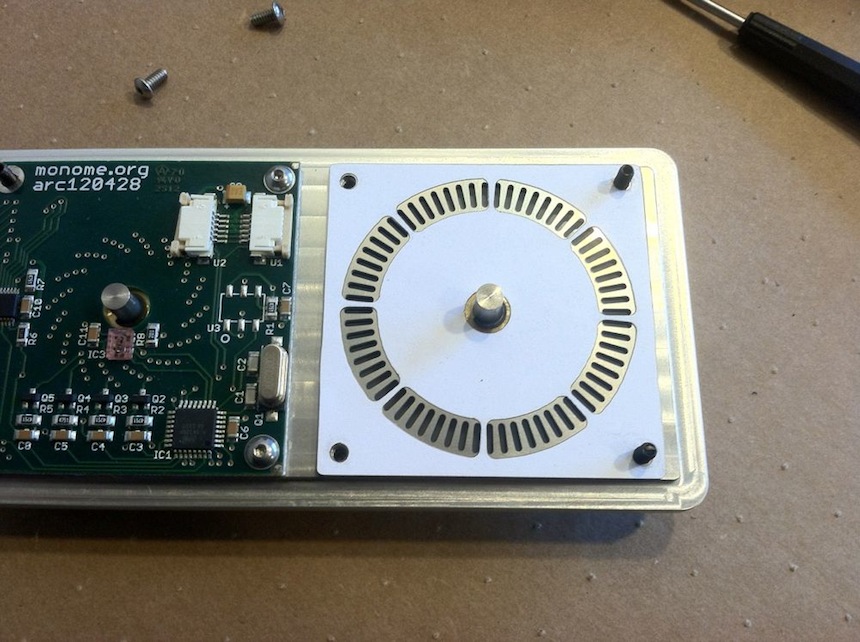
contacts up on arc board
A reminder, this is important.
Not shown, remove the interconnecting ribbons. Contacts up.
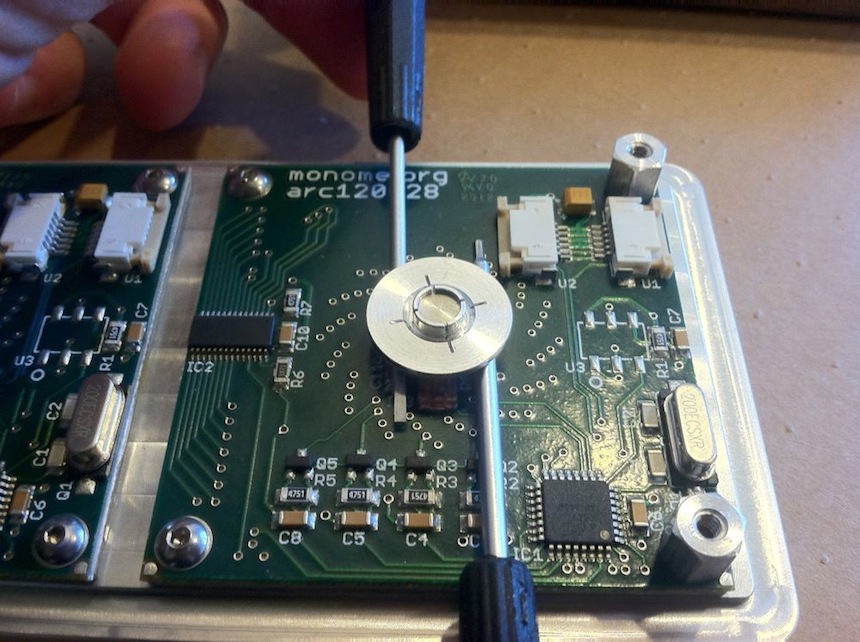
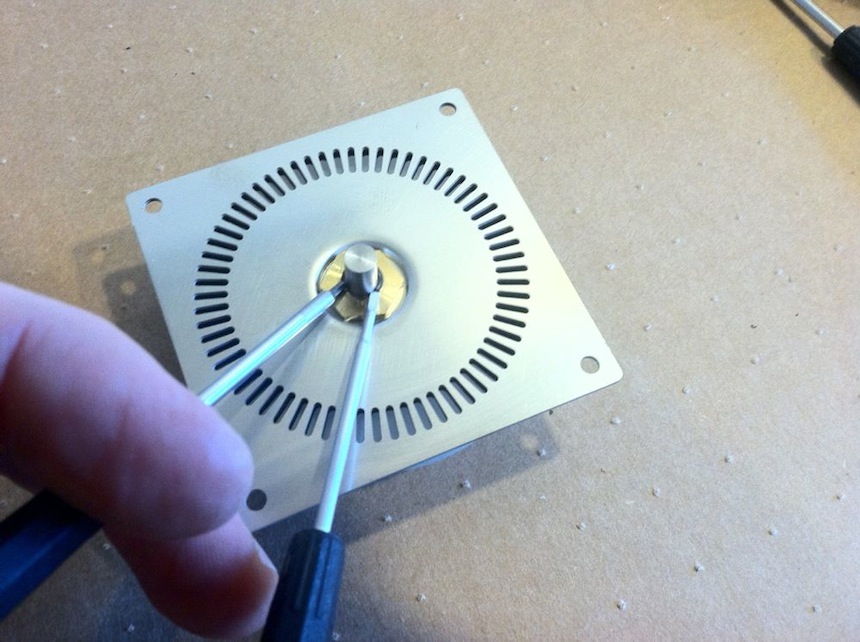
remove encoder wheel
Use two thin tools to scissor-action the wheel up the shaft. Apply pressure evenly by lifting the handles at the same rate. Once you can get your finger underneath you can finish removing it by hand.
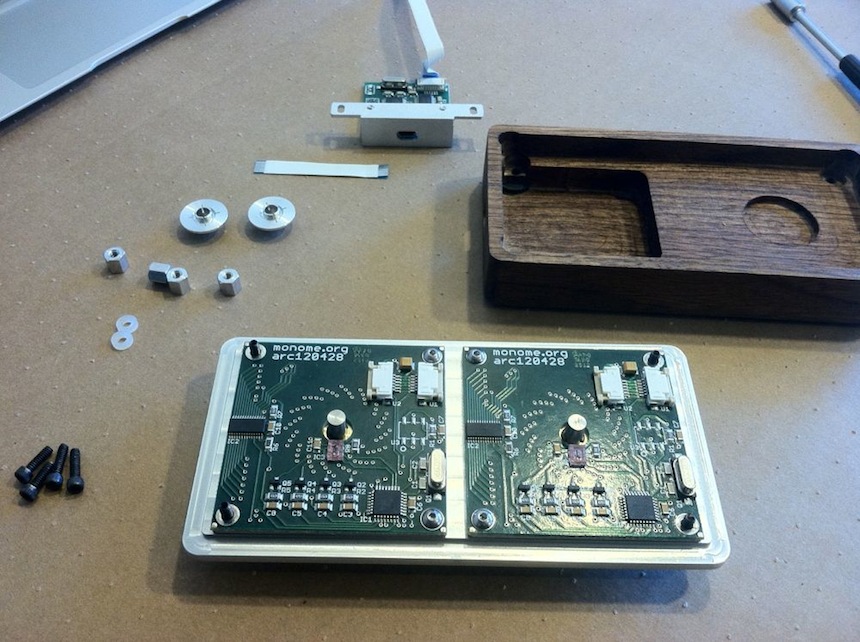
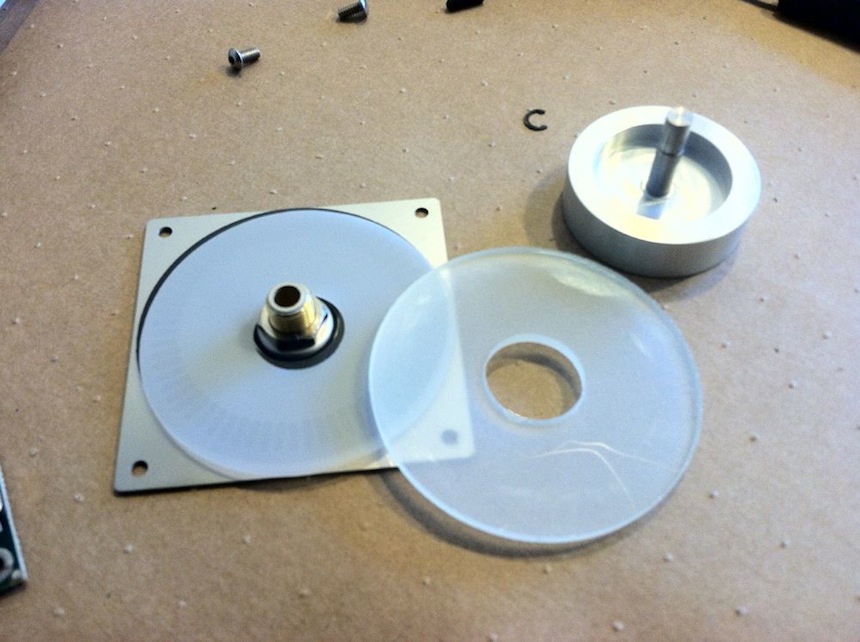
component spread
Next remove the 1/16” steel hex screws and 0.05” set screws. Remove PCBs.
paper shim alignment
Ensure the paper shim is aligned very precisely as shown when reassembling.
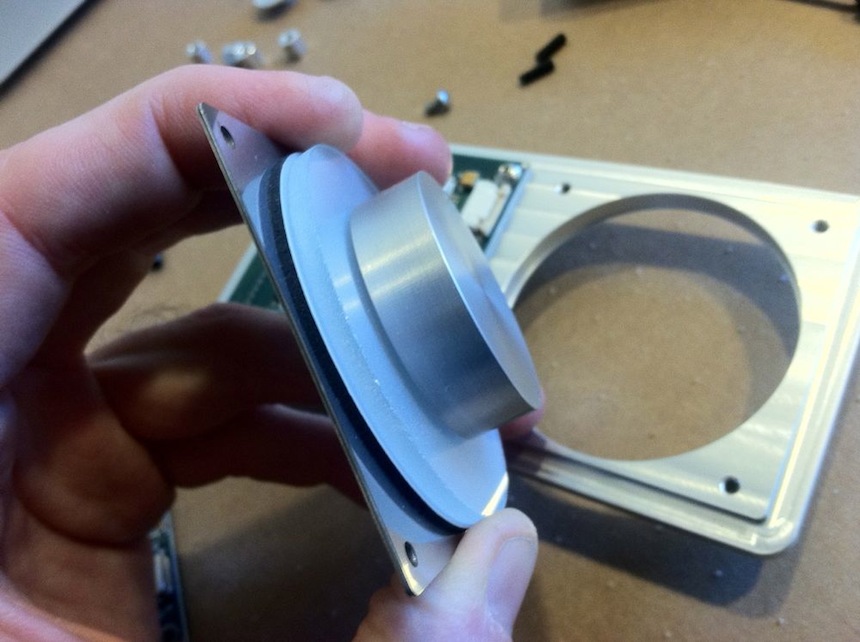
knob stackup
Shown. When re-inserting this into the plate it may be difficult to align the layers. Try holding them in line as shown while inserting.
clip removal
Use two small tools to evenly push each side of the clip away. Keep a finger behind the clip so it doesn’t fly across the room. You will definitely lose it if this happens.
Caution: don’t lose the clip. If you do, it’s here: http://www.mcmaster.com/#97414A620
knob parts
Glass goes shiny side up. Plastic diffuser goes shiny side up, under the glass.
There’s a very thin washer that goes between the brass bushing and knob. It’s probably stuck to the knob with grease, and that is fine.
This is the point where if you want to lower the resistance of the knob you’d clean off the shaft.
Caution: clean the shaft incrementally. Just swipe vertically on one portion, then re-insert and test. If you over-clean the shaft there will be very little resistance and it will continue spinning when rotated, which you probably don’t want. Furthermore, you probably won’t be able to put the grease back on– so no going backwards. If this somehow happens, e-mail help@monome.org and we’ll figure out some way to send you more grease.
reassembly alignment
A serious difficulty in re-assembling is seating the knob back into the plate evenly. The foam shaper has a tendency to distort when not inserted straight, which is much harder than it sounds. Our method is to insert the knob, hold it together with both hands, then hold it up to a light source (such as a white laptop screen) to see if the cells look right. If it is distorted, pull it out and try again.
closing words
We regret this is not an easier design to assemble. improvements each iteration often come at the expense of some unforeseen issue with materials or process.
At the same time this is not an insurmountable endeavor – we simply want to give fair warning that this will require more than simply screwing and unscrewing some bits.
Get in touch if you have trouble, of course. help@monome.org